
After being annoyed at jumping through hoops to simply watch YouTube or play back unsupported video on our lounge Samsung Series 5 (pre-SMART) TV, I decided to make our TV as smart as possible with the cheapest and most power efficient DIY setup.

(Note: This guide was published in 2017 and is now likely out of date/incorrect. I replaced this project with a Chromecast in 2020.)
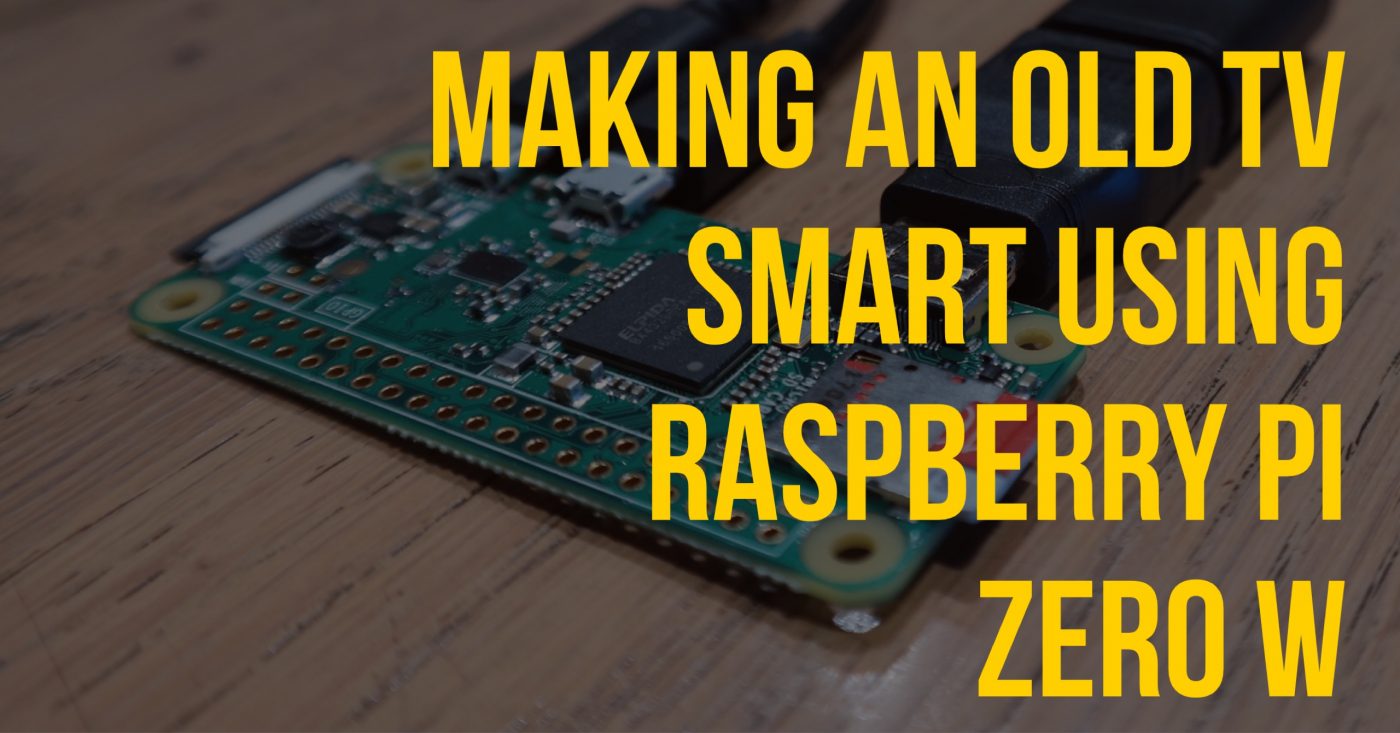
With those goals in mind, and after a brief bit of Googling, the Raspberry Pi platform seemed to be my best bet. I then narrowed down the models to the cheapest Raspberry Pi that could meet my requirements, the Raspberry Pi Zero W.
The reasoning behind choosing the Zero W was:
- Cheap
- Small
- Has on-board wifi + bluetooth
- Low-power (could potentially be powered via the TV USB ports)
Since the Rpi0w is meant for more of an embedded role, i was stuck in a sort of Apple-esque dongle nightmare to get it all connected up. Here’s the full list of parts:
Shopping List (with costs @ 15/11/2017)
Main Device:
- Raspberry Pi Zero W – R182.50 + R100 Shipping – PiShop.co.za (Excellent Service!)
Items required to run the Pi:
- Mini-HDMI to HDMI – R19.00 – Mitabyte
- USB OTG (Micro-USB) – R19.00 – Mitabyte
- 1.2m HDMI 1.4 Cable – R29.00 – Mitabyte
- Lexar 32Gb UHS-i Class 10 Micro SD – R199.00 – Makro Springfield
- You can use a smaller SD!
- Micro USB Cable – my own
TOTAL COST: R548.50
Items required only for Pi/OSMC Setup:
- 4xUSB Multiport Hub – R69.00 – Mitabyte
- USB Mouse – my own
- MicroSD Reader for PC – my own
Software Required
NOTE: This tutorial assumes that you are setting up the Pi on a PC running Windows 10 and are then going to control it using an iOS device.
- SD Card Formatter – Link (Download and install)
- Version I used – SD_CardFormatter0500SetupEN.exe
- Kodi Remote for iOS – Link (Install on your iOS device)
- Version I used – one in App Store at date of blog post
- OSMC Installer – Link (Download)
- Version I used – one on website at date of blog post
- OSMC Image for Raspberry Pi Zero W – click here, click “Disk Images” and download the latest one
- Version I used – OSMC_TGT_rbp1_20171102.img
Step 1 – Setting up the SD
- Launch the SD Card Formatter and format your Micro SD.
-

- You must select “Overwrite format” before formatting.
- It can take some time for this step to complete
-
- Launch the “osmc-installer” that you downloaded previously.

- Select English and Raspberry Pi 1/Zero then click right arrow

- Select the check-box (use a local build on my computer), a file selector box will open and you must select the OSMC image you downloaded previously. Click the right arrow.

- Select “on an SD Card”, click right arrow

- Select “wireless connection”, click right arrow

- Choose the encryption type for your wireless network, fill in SSID (network name) and Key (password), click right arrow

- It will automatically detect any removable storage devices. For safety, I only have the SD plugged in so it is the only one that appears in the list. Click on it and then click the right arrow.

- Tick “I accept…”, click right arrow

- Click Yes

- It’ll install on the SD

- Installation complete, click “quit” and the installer will close. Safely eject your micro SD and keep it aside for now.
Step 2 – Setting up the Hardware
- Connecting Peripherals to Raspberry Pi Zero W:

- Plug in the Micro USB cable into right-most (labelled “PWR IN”) port
- Plug USB OTG into middle (labelled “USB”) port
- Plug HDMI cable into Mini-HDMI to HDMI converter and then into the left port.
- Insert Micro SD with OSMC into “MICRO SD CARD” slot.
- Connect HDMI to TV
- Connect USB Mouse to USB OTG (This will be used as the input device until you configure your iOS device as the controller)
Step 3 – Setting up OSMC/Kodi
- Plug the male USB- A into a power supply or free USB on TV. The Pi will boot up once power is received.
- Change TV input to HDMI input that Raspberry Pi is connected to.

- OSMC will format your SD card. Note: The LED will not be flashing at this stage, this is normal.

- OSMC will install

- Installation complete, wait for a bit and then:

- OSMC Loading Screen

- The OSMC interface will load. Don’t be tempted to explore the interface just yet, the initial setup must load, wait for it to open.

- It’ll ask you for language

- Location

- A name for your new device (I named mine “Lounge” because that’s where it is going)

- Disable SSH Service unless you have a reason to keep it running

- Click continue to accept license

- Choose the “Classic” interface

- If you want to receive the newsletter, choose appropriately

- Lastly, click exit

- At this stage, the interface may freeze while applying the changes, just wait it out until you see the above interface. Congratulations, KODI is now installed!
Step 4 – Setting up Kodi remote on iOS
- Click the Gear (settings) icon

- Click “Service Settings”

- In the “Control” Section, make sure “Allow remote control from applications on other systems” is on and all other settings match mine above. Right click with the mouse to go back.

- Click “System Information”

- Note the IP Address
- Open Kodi Remote on your iOS device and click “Add Host”

- Add a description, the IP from the Raspberry Pi and 80/9090 in the port section. Click “Save”.

- Tap the Description of your Raspberry Pi and it should connect, turning the red indicator green.

- Tap the side menu and tap remote control

- You can now fully control your Kodi installation from your iOS device and you may disconnect your mouse from the RPi.
And that is the end of the guide from Zero to Kodi on the Raspberry Pi Zero W. Enjoy the new functionality that is now available on your TV. USB hard drives or flash drives can be plugged into the USB OTG port for playback of Video, Music and Photos. Plugins can be installed allowing for Youtube and other streaming video platforms to play directly on your Pi. Frankly, I was amazed by the performance of this little device.
Now that this initial setup is complete, you can customize your hardware and software to match exactly what you want to do with your Pi.
Leave a Reply